The focus of today's outfit is obviously the shoes!
Look at them! Just look at them! But don't ask me how long it took to put them on.
OK,
I'll tell you. 20 minutes! They are impossible to slide on my feet
unless I loosen all the laces. Then I have to re-tighten all the laces,
taking extra care that they stay the right length on each side and that
they don't get twisted at any point (because they are flat, they look
deformed if they twist). I foresee very little wear actually happening
with these splendid but very labor-intensive shoes. As much as I love
everything-lace-up, I might have to remove the laces from these babies,
just so that I can put them on and still get anywhere on time.
But I digress.
If
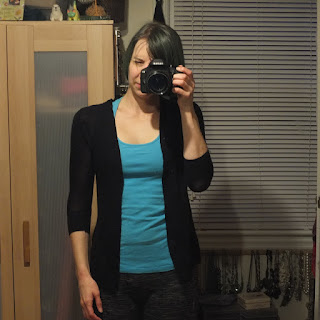
the focus of today's outfit were not the shoes, it would be the simple
and unassuming bolero that I have worn on my shoulders. It's nothing to
get excited about—it doesn't fit great, and it suffers from no small
amount of pilling and age-related scruffiness. But I did make it myself,
so the rest of this post will be dedicated to the process by which I
accomplished it.
I started with an
old black cardigan handed down to me by a friend. This one was a little
difficult to get on over my arms (I never thought I had fat elbows, but
after trying a couple of XS sweaters, I'm beginning to believe that
could be a thing), and it had the aforementioned obvious signs of old
age. I had enough black cardigans already, so I figured I would use it
for some kind of DIY project. When I realized one day that it would be
really nice to have a bolero (which, like many things in fashion can be
defined in various ways, but in my book is like a shrug, except it
basically covers only the shoulders and not the chest) for those days
when I want to wear a summer dress, but don't want my arms to freeze. An
ordinary cardigan frequently covers up too much of the dress and looks
frumpy, but a bolero would allow me a much more streamlined silhouette.
So I grabbed this old and somewhat worn sweater and decided it was a great candidate for experimental surgery.
First, I wrapped it around my body and pinned the approximate area where I thought the two sides should meet in the back.
From
here, I was stumped as to how to convert the rather baggy back portion
of the cardigan into a fitted bolero. Many false starts occurred. At one
point, I lopped off most of the bottom just so I'd have less excess
fabric getting in my way.
Then,
because the front didn't seem to be fitting around my arms as I'd hoped,
I disconnected the ribbing from the sweater entirely so I could trim
off more fabric (in retrospect, I could have left a little bit attached
at the neck area to save myself some work later).
I used pins to mark a line where I wanted the new front edges to be, then cut off around them, leaving a seam allowance to reattach the ribbing.
After a few more slight adjustments, I was happy with the way the front looked.
The
back, however, was still too loose. I smoothed the ragged edges off the bottom and trimmed it shorter, which helped.
Then to get rid of the remaining excess, I decided to put a few gathers
into the back when re-attaching the ribbing.
So, finally, I reattached the ribbing!
That was the end of this project! While it still looks scruffy, I can fix some of that with a good old-fashioned razor, and should have a polished-looking bolero just in time for spring!


No comments:
Post a Comment