Bike Jacket
If you read my other blog, you'll know that dressing for a bike commute in winter is a tricky business. Today's post will share how I made winter riding just a tad more comfortable with a couple of cheap DIYs.
In most weather, I prefer to bike without any kind of coat because I get overheated from the exercise. But when the temperatures drop into the 40's and 30's, a little more covering up becomes necessary. A thin jacket is enough to keep me warm, except for that little sliver of skin, between the bottom of my jacket and the top of my pants, which annoyingly gets exposed when I'm hunched over the handlebars. The solution, of course, is a longer jacket, so that's what I set out to make.

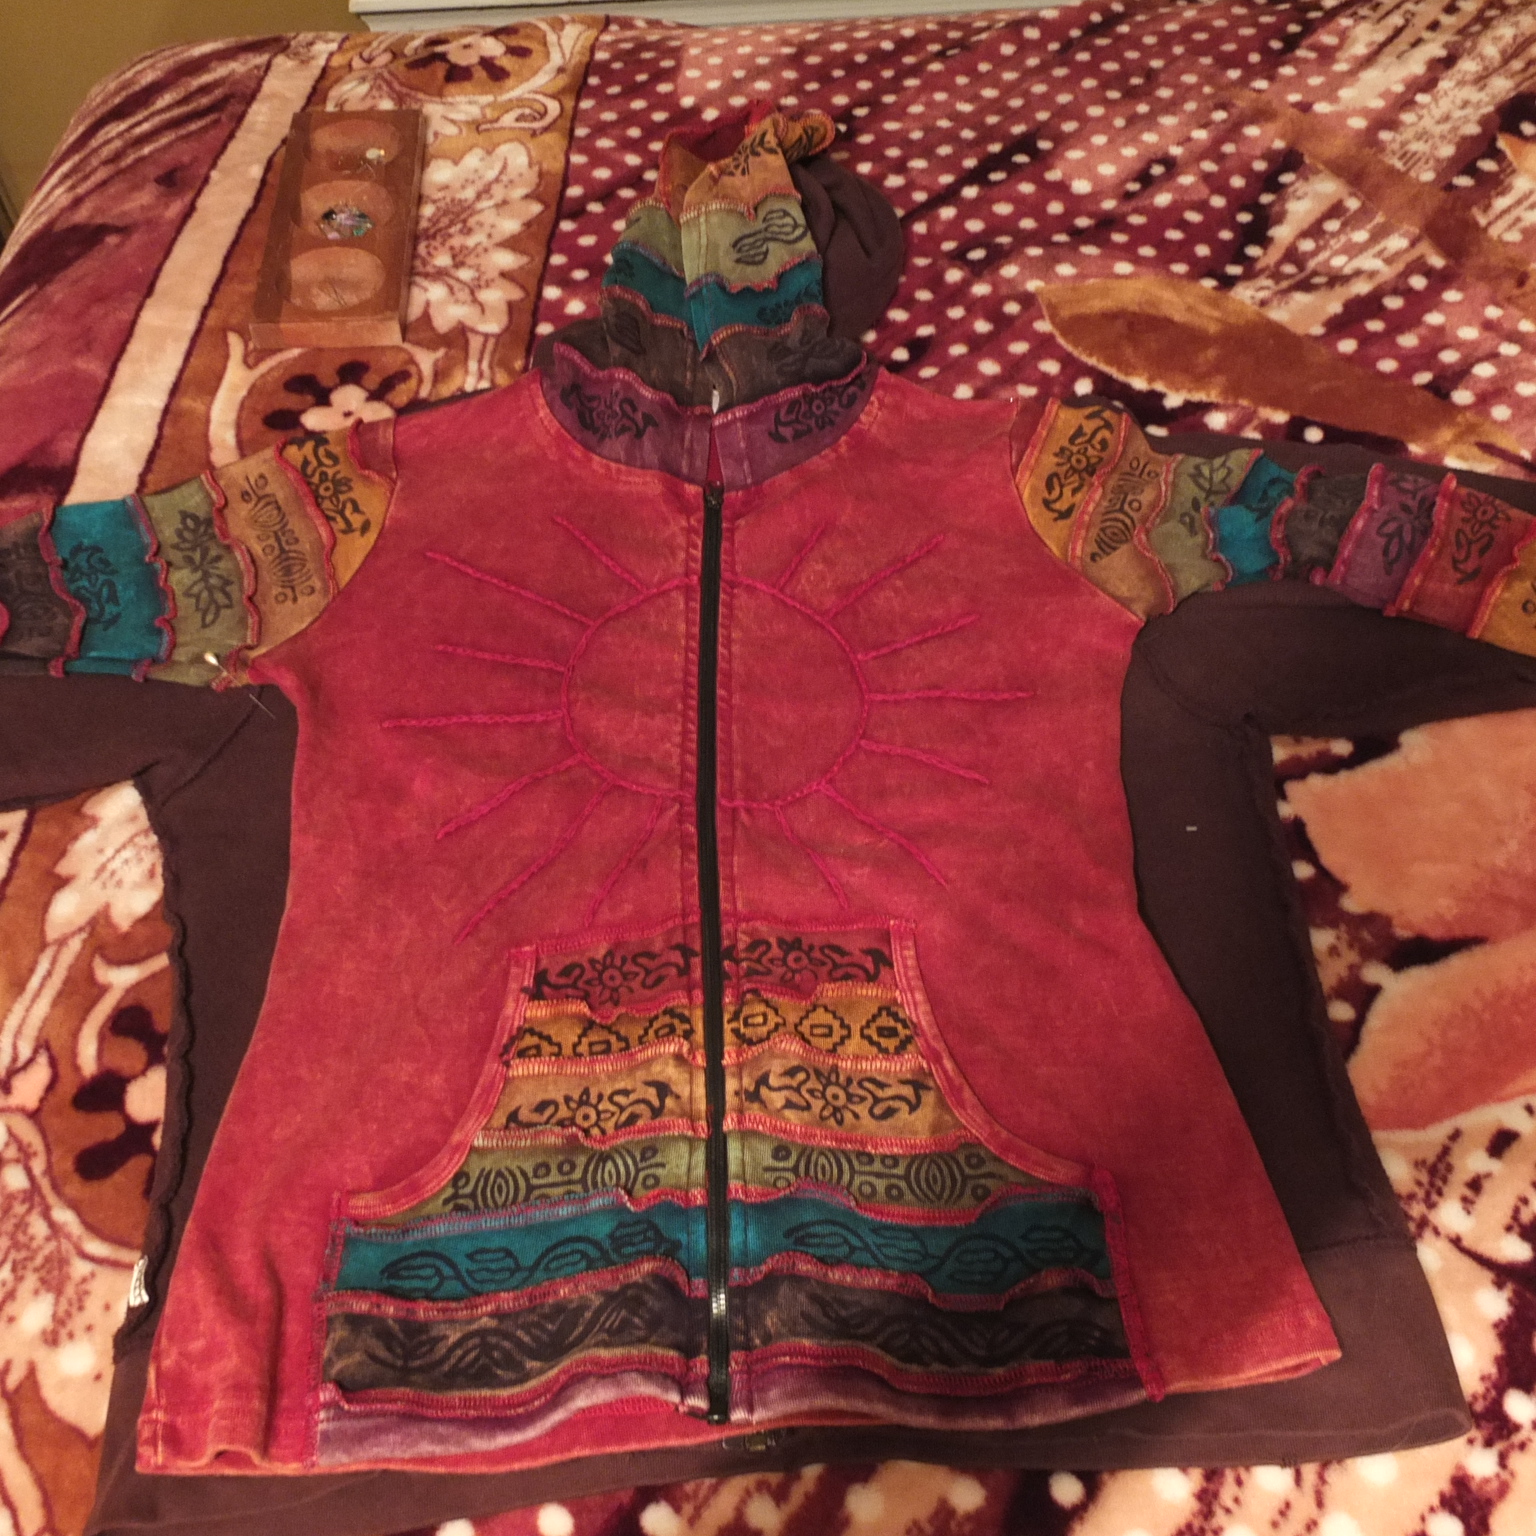
I started with my old Virginia Beach hoodie. When I bought it, I deliberately bought it 3 sizes too big because I don't like the way most sweatshirts bunch up around your hips. Thus it is nicely long for biking, but not very flattering. My goal was to resize this sweatshirt so it retains its good qualities (length, ease of motion) but looks a little more attractive.
Using a well fitting hoodie as a template, I cut off the sleeves, cut new armholes, took in the sides at the armpit (but let them flare out to the original width at the bottom hem), trimmed the sleeves down to fit the new smaller armholes, and then reattached the sleeves. Compared to my last attempt at attaching sleeves, I did much better this time!
 |
| Marking the position of the new armpit seam |
 |
| Positions of the top of the new shoulder and bottom of new arm opening |
 |
| cutting off the original sleeve |
 |
| New armpit seam |

Now I have a well-fitting hoodie that's long enough to handle any amount of hunching! Good enough for now, but the typographer in me is not satisfied by inconsistent tracking on the words! In the future, I hope to remove or cover the ugly logo with something cuter.
Bike Mittens
The second winter biking refashion is a little something to keep my hands warm. Wearing gigantic skiing gloves has worked acceptably for me in the past, but it limits my dexterity greatly. Dexterity being somewhat essential to the operation of shift and brake levers, I found I needed a better solution, so I decided to make my own "handlebar diapers" (except I am now going to call them "handlebar mittens!") like the ones I saw at REI.
My old white winter coat was looking a bit too dingy and too big for me, so, with some trepidation, I decided to repurpose it. I cut about 8 inches off the bottom (fortunately the zipper stopped right about there so the coat is still usable), sewed up the new bottom hem as neatly as I could, and donated it. I hope the old girl still has some life left in her!
Then, sewing up all the raw edges of the cut-off bottom strip and folding it into two pocket shapes, I constructed the covers for my handlebars. I left each pocket open at the back (where my hands would go) and inner side (where they would go around the handlebar) and then safety-pinned them to the handlebars. I wasn't going for great craftsmanship, just something functional.
After a trial run, I realized 3 things: 1) They worked perfectly at keeping my hands warm, even in biting wind and 31-degree temperatures (yay!), 2) I needed something to keep them from sliding forward and off my hands, and 3) There was a lot of unused space towards the inner corner of the mitten.
 |
| Inside view, after adding rubber band and safety pin to narrow the hand opening |
To solve problem 2, I attached a rubber band to the inside of each mitten at a strategic point. Thus, when the mitten is attached, the rubber band can wrap around the handlebar and hold it in place.
To solve problem 3, I simply adjusted the position of the safety pins so the extra fabric was tucked in for a more streamlined appearance (and a smaller opening to let the wind in).

No comments:
Post a Comment