 You may recall my lack of enthusiasm about the bulgy beanies that are so trendy today. Once I started thinking about hats, I also started thinking about what kind of hats I like, and the answer came to me: stocking caps! The extra-long ones with the pom-poms that people only wear in illustrations. When I was a kid in elementary school, some other kids had them, but I never got one of my own, and they seem to have fallen completely out of fashion now. But fashion is no object for an Unfashionista! I would simply make my own.
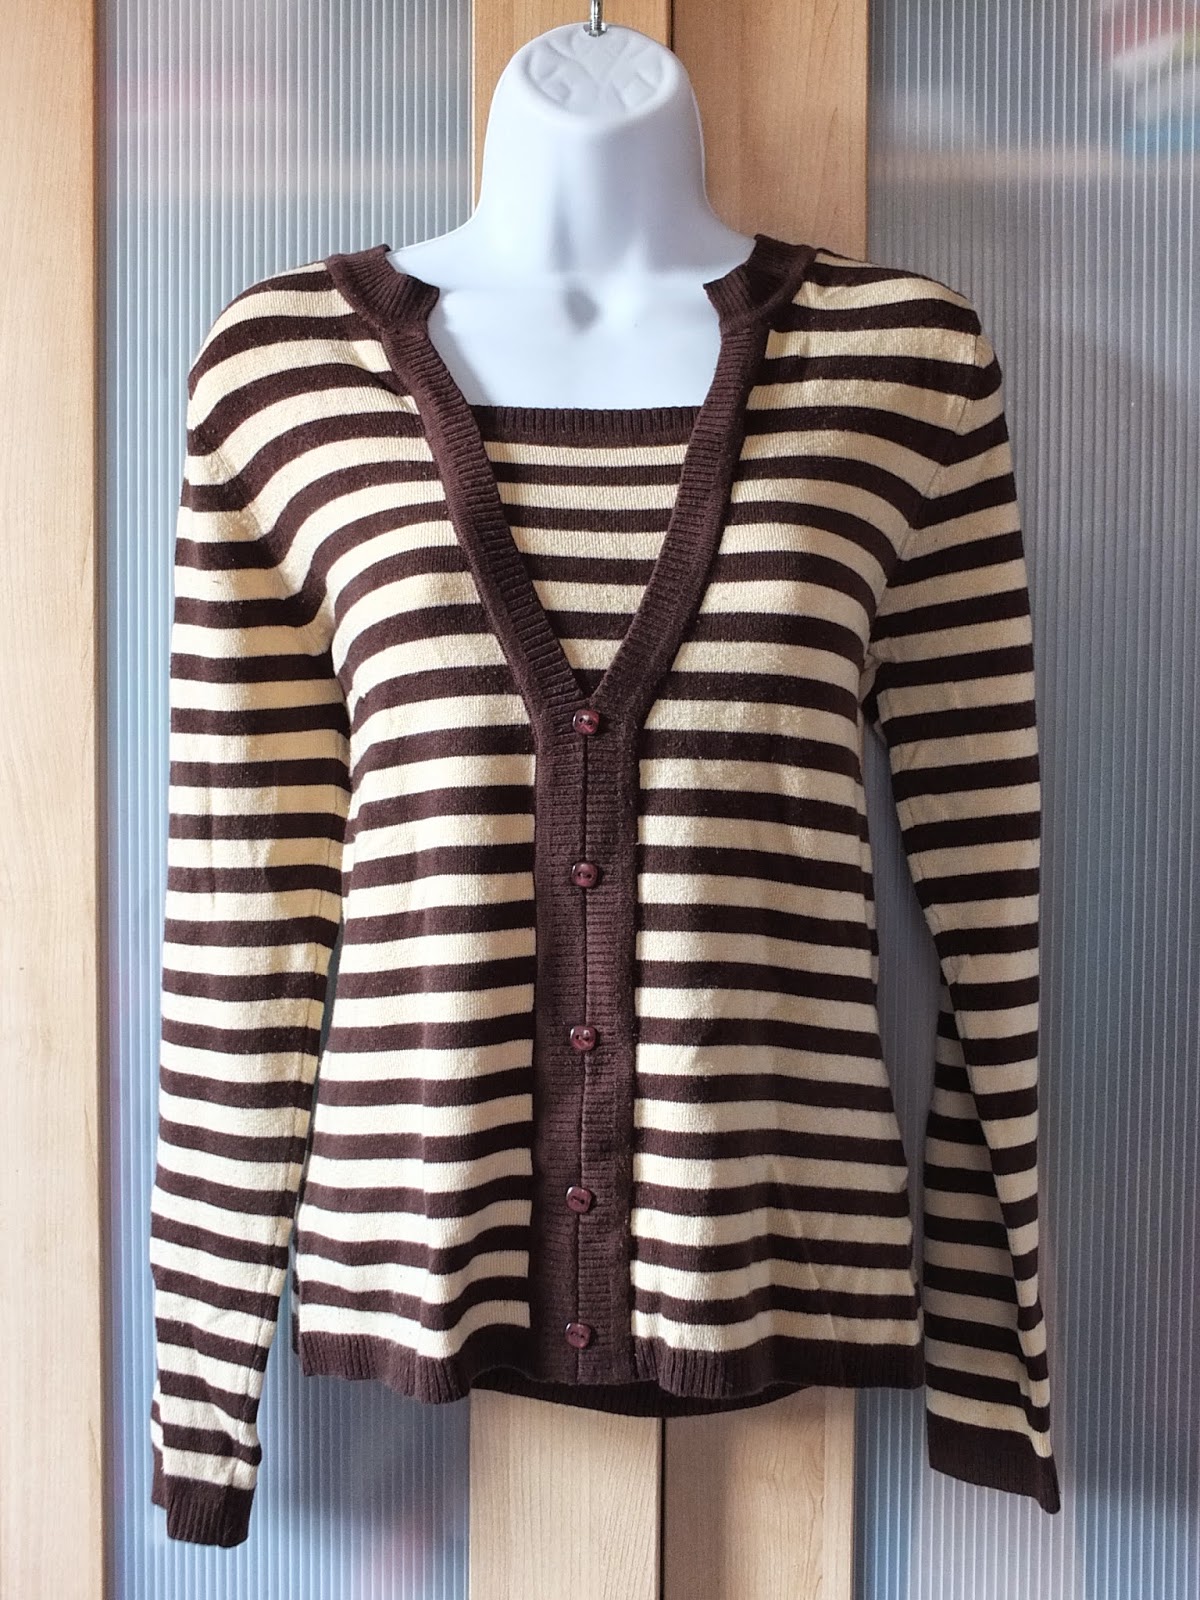
All I needed was the right material, and I found it in a striped sweater I'd been trying unsuccessfully to sell on eBay for weeks.
Making a cap out of a sweater is quite a good idea, because the material comes with a built-in bottom hem! I had originally intended to cut the sweater into two triangles and attach them together at the sides, but the faux layered front gave me less material to work with than I needed.
Making a cap out of a sweater is quite a good idea, because the material comes with a built-in bottom hem! I had originally intended to cut the sweater into two triangles and attach them together at the sides, but the faux layered front gave me less material to work with than I needed.
I had to instead cut 4 narrower triangles that came to a point at the shoulders.
Sewing these puppies together was an exercise in patience. The material was so stretchy that, despite my best stretch-n-sew techniques, I could not keep my needle moving in a straight line. And the top layer of fabric kept feeding more slowly than the bottom, messing up the alignment of the stripes, which I had to "fix" by periodically stretching the bottom layer tighter while sewing, leading to a pretty wavery-looking seam. By then end, I was irritable and exhausted. Fortunately, a slouchy hat is pretty good at hiding its own imperfections, so although not perfect, it was good enough to wear.
After I'd had a few days to let my frustration subside, I was ready to tackle the next phase of the project: the pom pom! I really wanted my long stocking cap to go that extra mile, and I was lucky enough to have a pom-pom ready made. The brown scarf that came with my brown sweater dress came with pom poms as well (click on this link if you want to be disappointed by a picture of the scarf that doesn't even show the pom poms). I hesitated initially to mutilate a perfectly serviceable scarf, but in the end, I decided I was doing myself a favor, as I rarely wear the scarf—in part because the pompoms are always getting in the way of things. It will probably be a lot more useful to me with them removed.
So that's what I did. Attaching the pompom to the hat was actually a lot more difficult than I imagined, because I could not get the thread tight enough. Even now, the pompom is dangling off the tip of the hat by a good centimeter of thread, but again, it took me so many tries to accomplish even that much that I decided to let "good enough" be good enough.
There was still one more phase of the project, though—mittens! This winter has been a bad season in terms of me losing accessories, and my glove collection has been hit the hardest,* so it makes sense for me to get a little more mileage out of my unwanted sweater by making some mittens with the remnants.
After so many difficulties already, I'd pretty much given up on producing a quality garment, so the mittens took me only a few minutes to hack-&-sew. I used the bottoms of the sleeves for this portion so I could take advantage of the existing cuff.
First I laid my hand down on the sleeve, marked a few key points (tip of fingers and intersection of thumb) and then started cutting.
Then I sewed around the edges, leaving ample room for error.
Next, I bravely tried it on. After that, I basically just kept tightening up the fit by sewing closer seams until there was no more excess fabric hanging off.
Then, using the first glove as a template, I cut and sewed the second glove into the same shape.
Phew! I was done! One more pair of mittens to lose track of, and a nifty old-fashioned hat that will soon meet the same fate!
*I've taken to picking up and laundering every lonesome mud-soaked glove I find in the street, because I am losing mine at such a rapid clip that any free glove, even a mismatched one, is better than having to buy a new pair that I will misplace after one wear. I have also purchased a custom rubber stamp with my contact information on it, so I can label every piece of clothing (and umbrella) I own in case of accidental abandonment.


 you can wear leg warmers as boot toppers!


